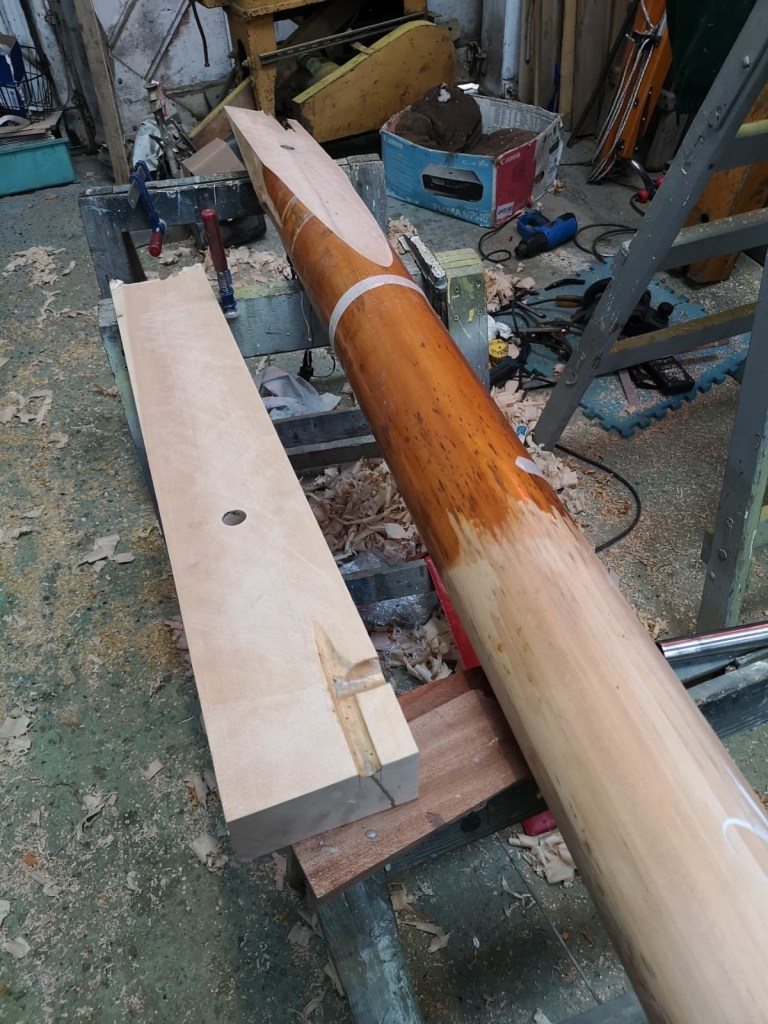
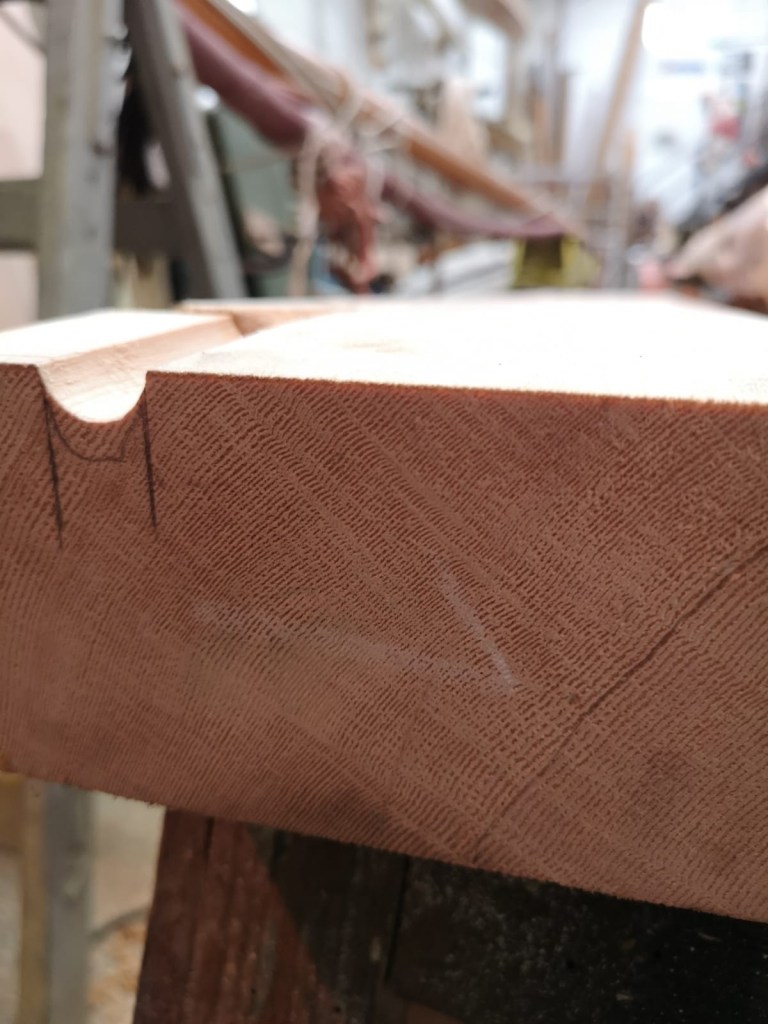
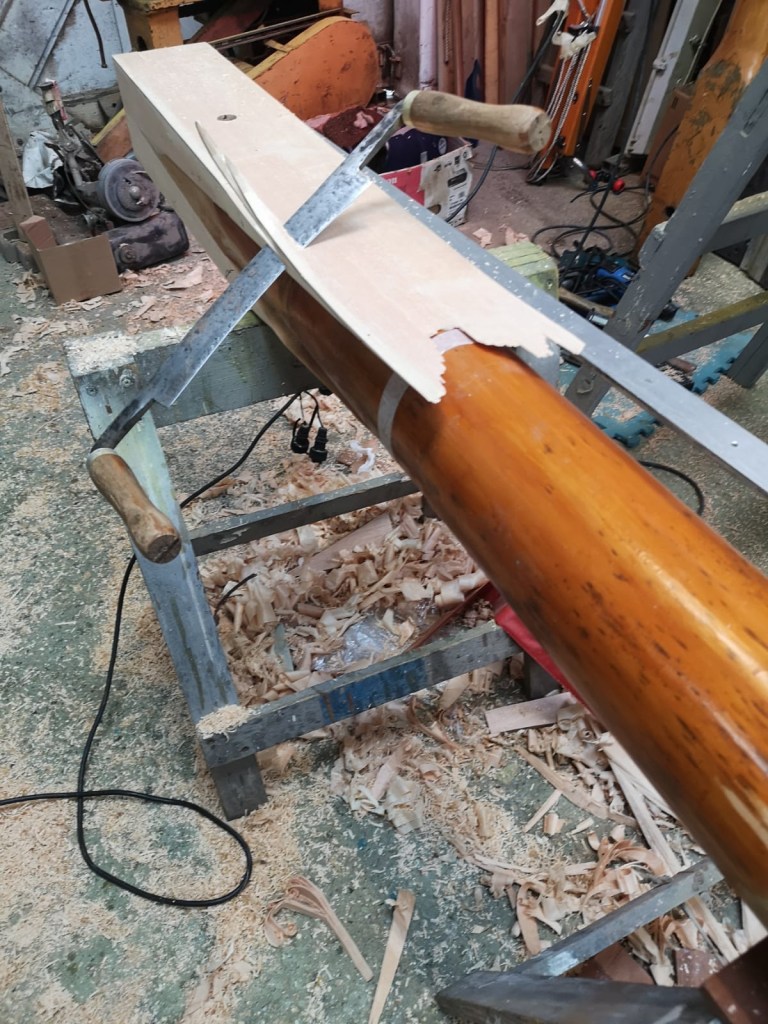
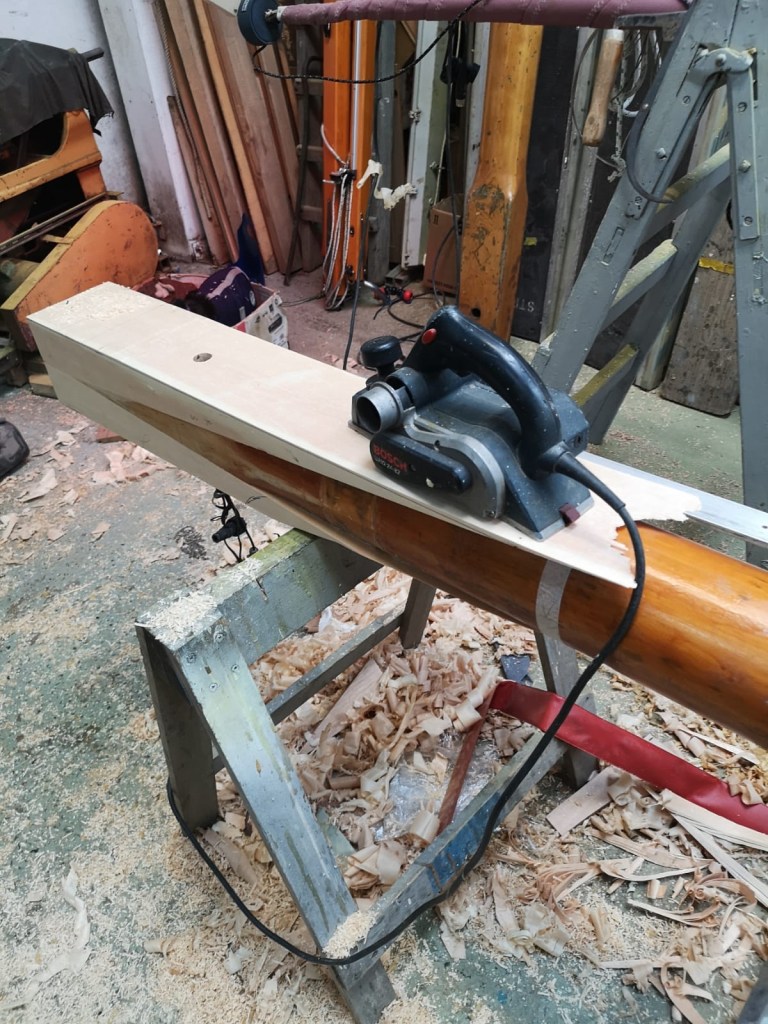
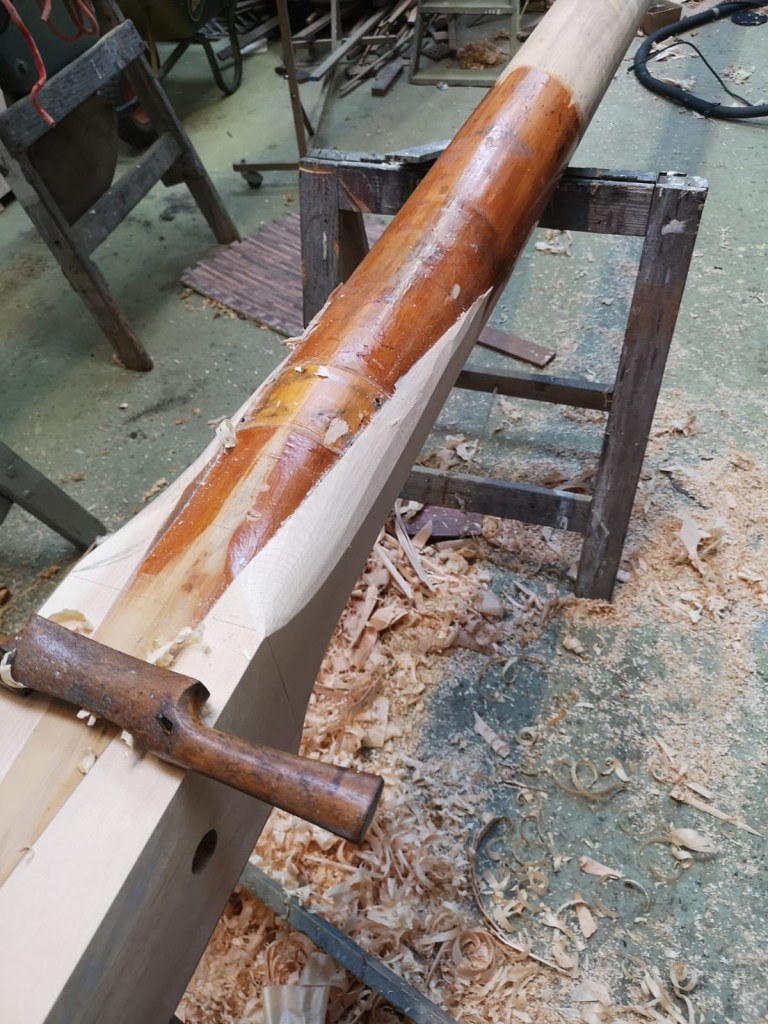
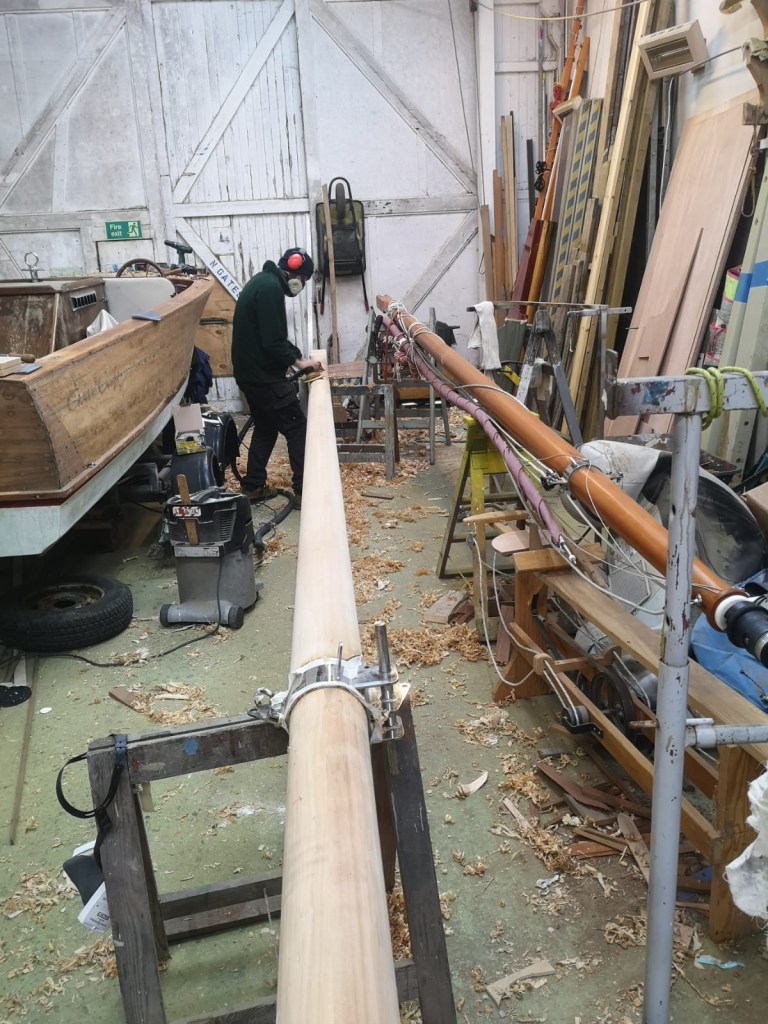
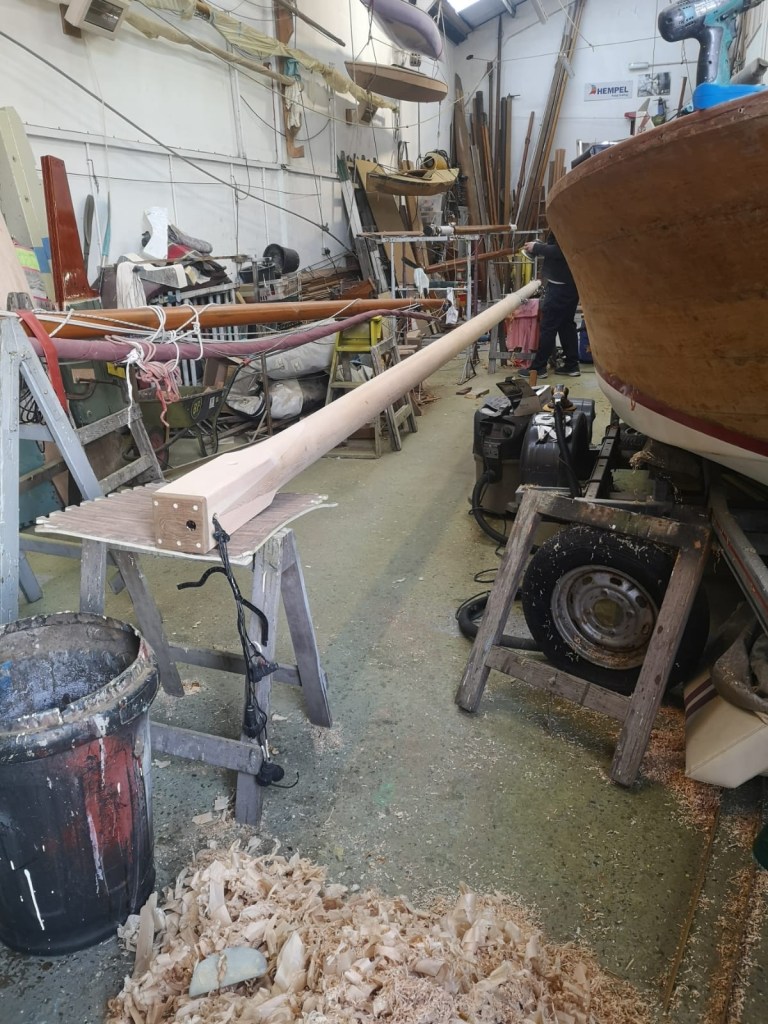
I was very happy to receive these photos today from Nick Gates, the excellent shipwright repairing the rot on Molly’s mast foot. They tell the story of how the scarph is carried out, resulting in a very elegant job, which even improves on the original.
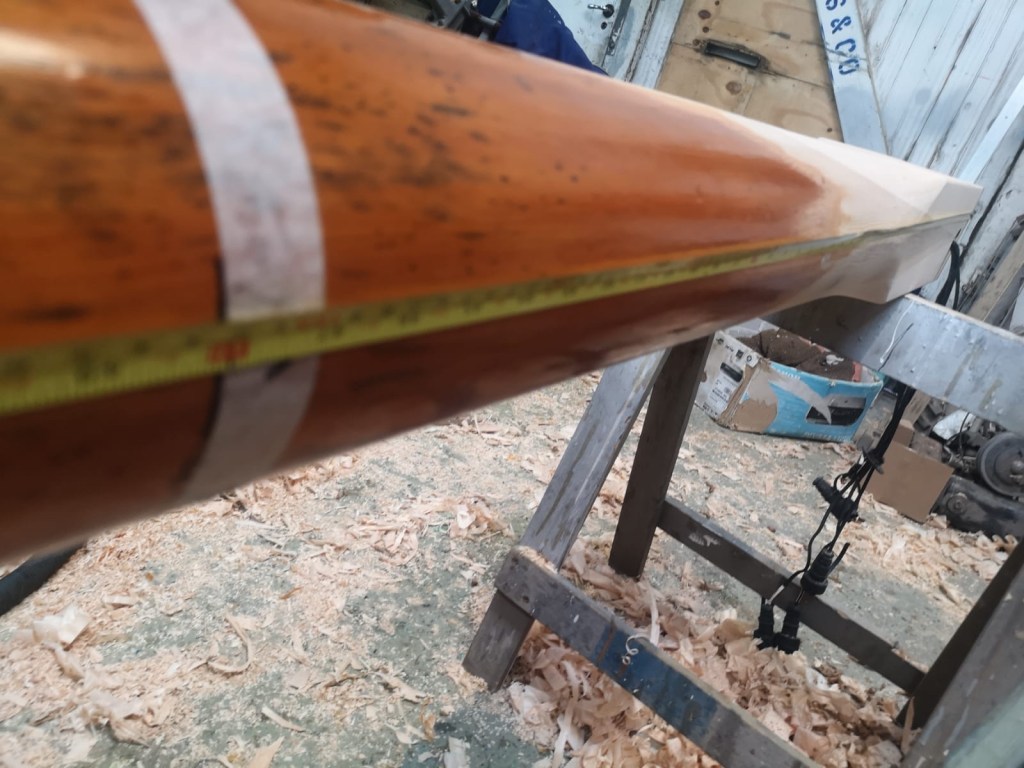
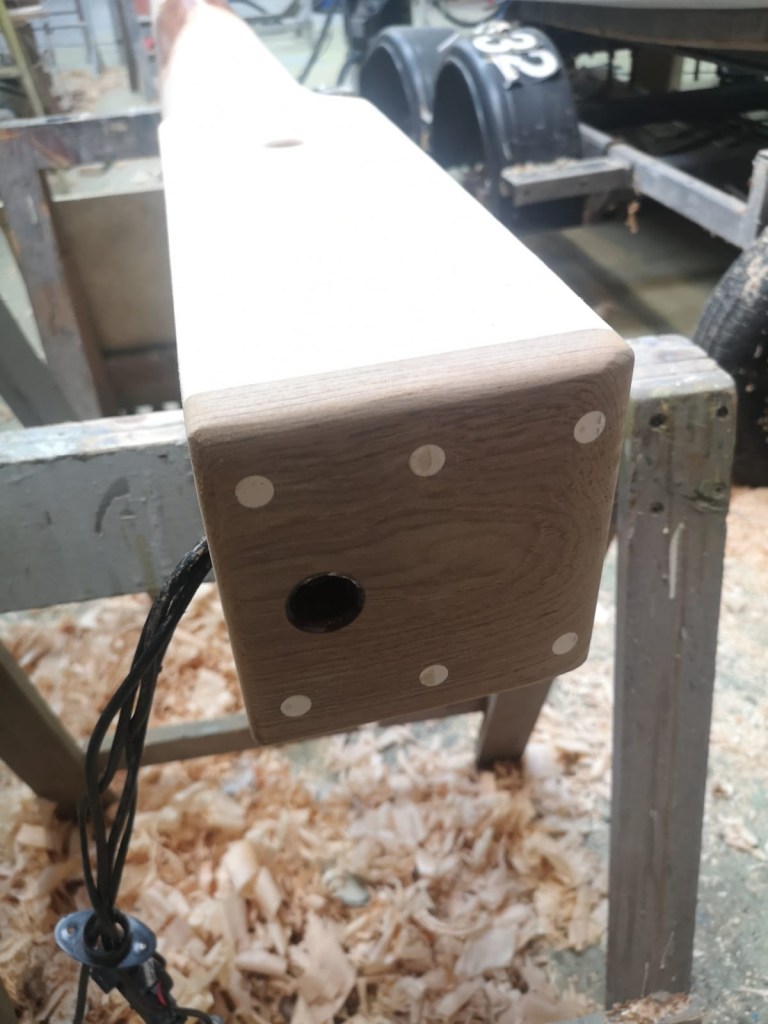
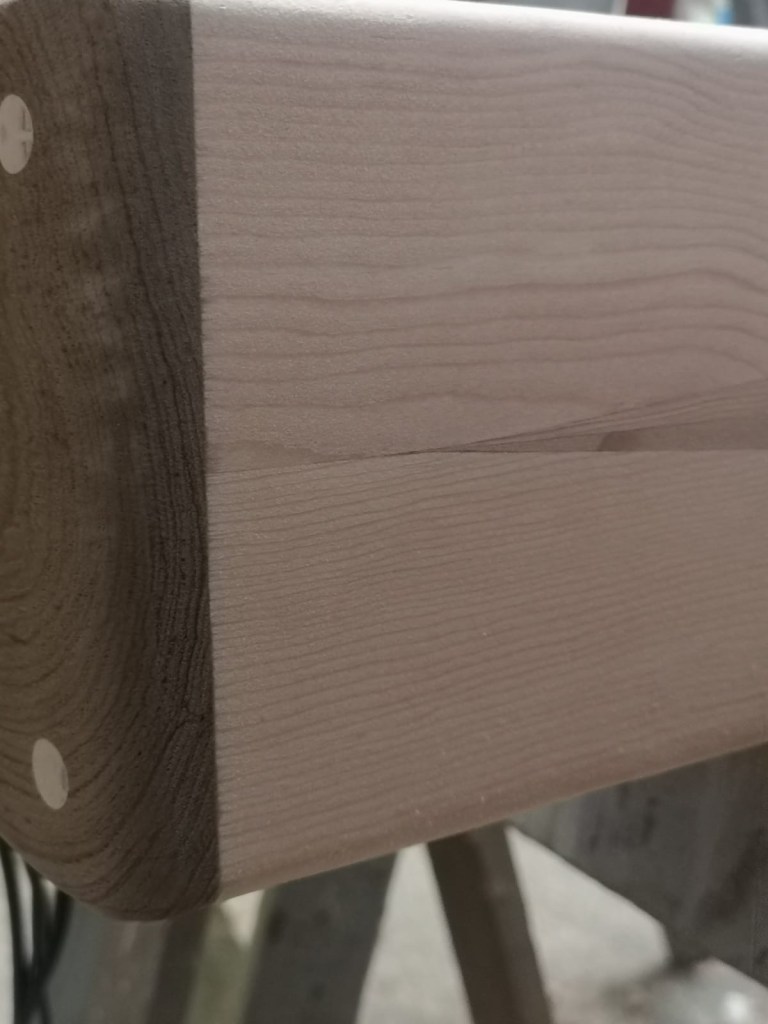
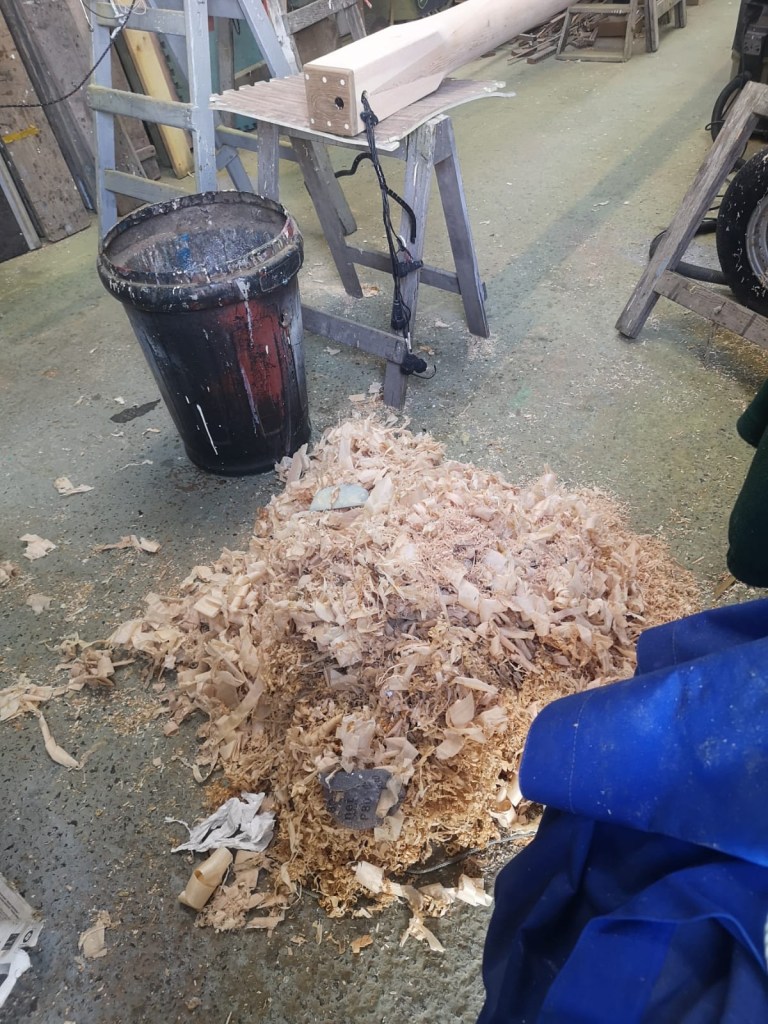
Sitka spruce block being planed flatNew piece ready for fitting, showing channel for cablesClamps applied!Trimming the scarphPleasing shape!Fairing the shouldersNick put on a technical bit of tape at the start of the job, to retain the exact length of the mastPrecisely four feet from the footThe new foot is made of teak, salvaged from the side of some steps on a Baltic Trader which was broken up 20 years agoFoot is screwed on and the holes filled with epoxy and microlite (filler) mixFinishing the surface prior to varnishing I’ve paid for a spruce block to be turned into shavings!! 😉
Molly’s mast lowered and ready for maintenance The foot of Molly’s mast when we inspected it in August. In fact the rot extended inside almost up to the tabernacle bolt hole!
When we bought Molly last year, we could see that the mast needed some maintenance, but were not able to drop the mast whilst we were ashore in the yard. During the summer, we removed the mast to reapply the Sikkens coating. To our dismay, we discovered rot at the foot of the mast! This winter, work is finally going ahead to refurbish the mast: remove rotten wood, scarphing new timber and adding a hard wood cap to the foot of the mast which will protect the end grain of the spruce. Whilst we’re at it, we’ll change to coating to a more traditional varnish, which will allow us to better see any signs of water damage to the wood and, I feel, give better protection to the wood, albeit at the cost of annual or biannual sanding and topping up the varnish. Here’s a video of our trip to see the shipwright Nick Gates, who has been assessing the work, before completing the refurbishment of our mast.