Tag: maintenance

Winter maintenance

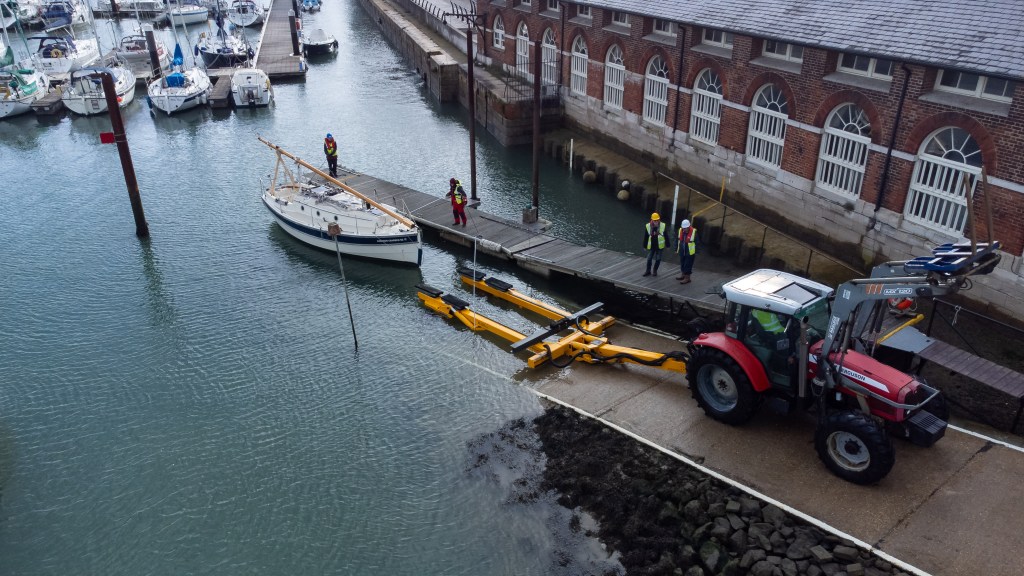
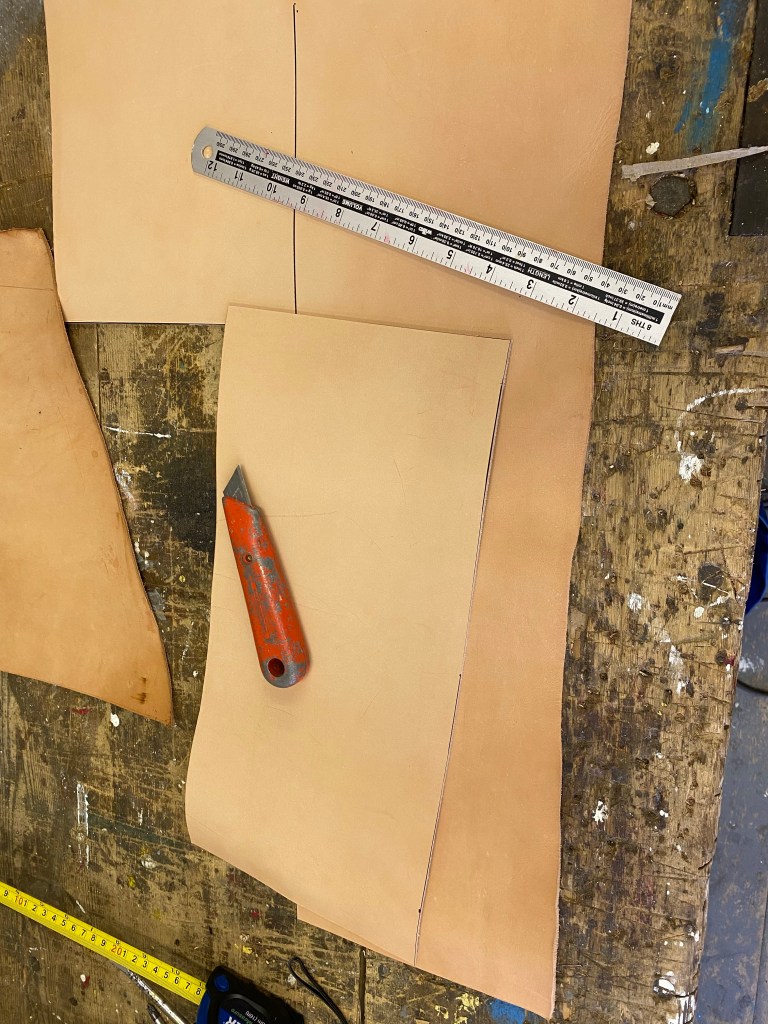
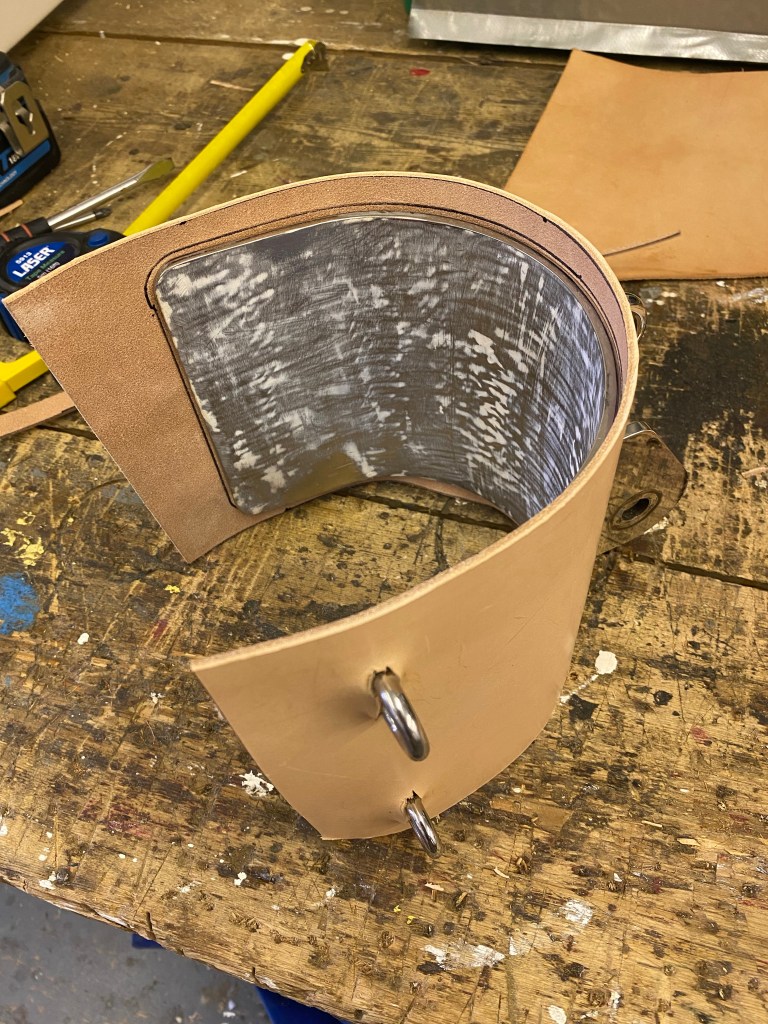
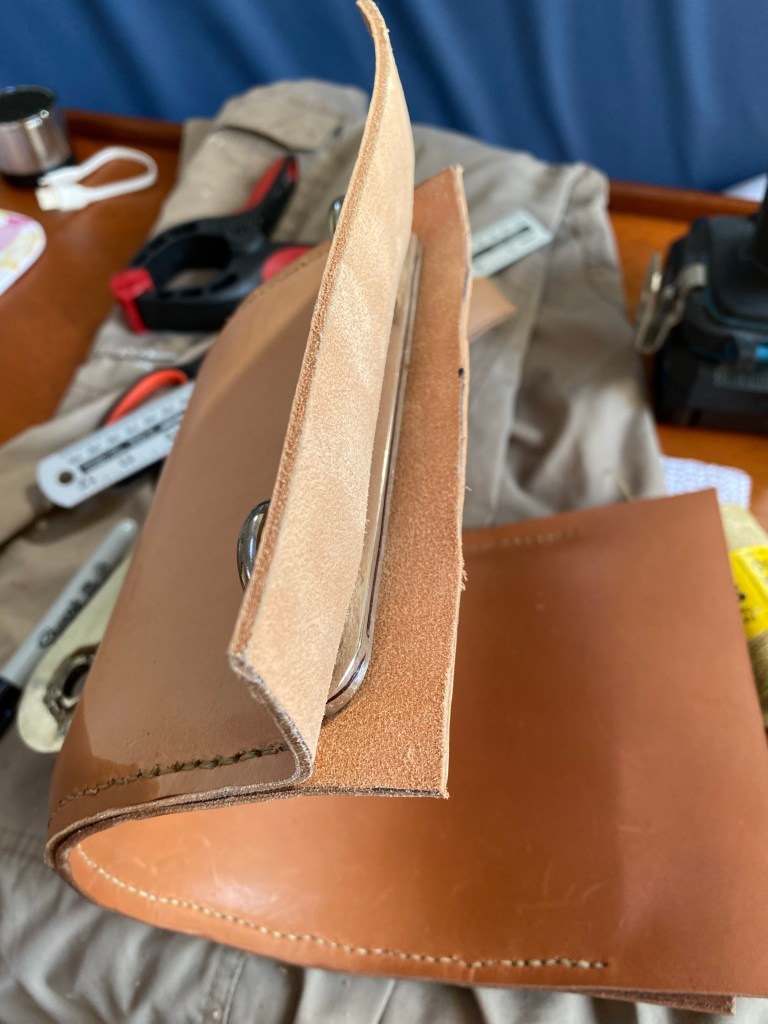
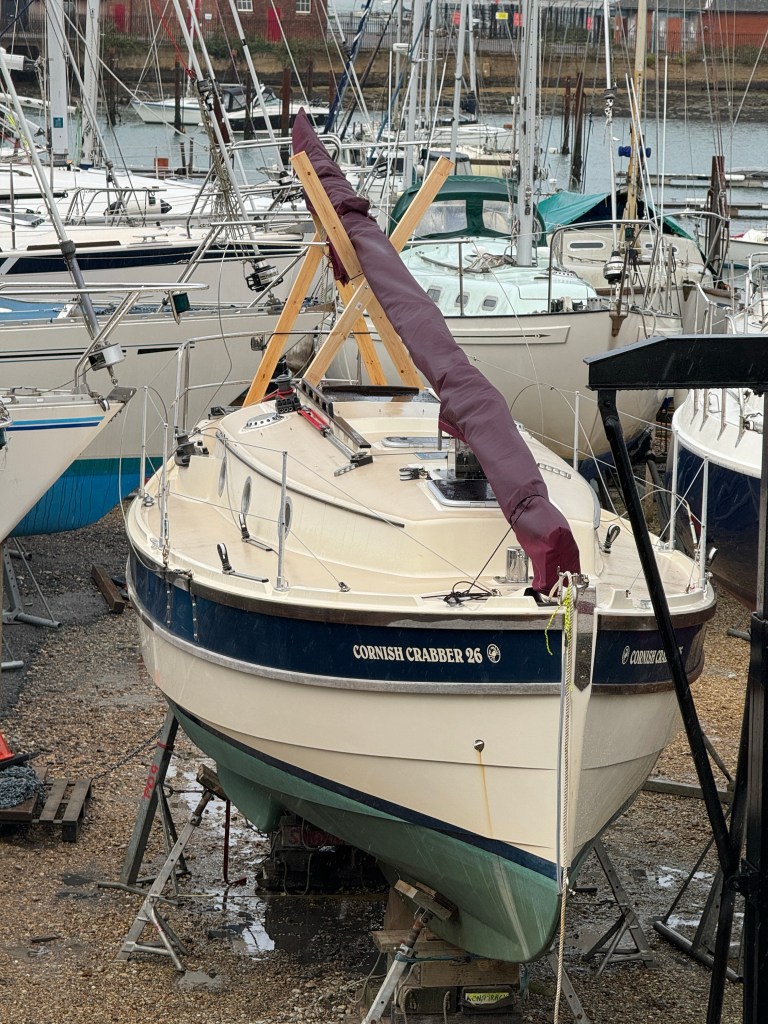
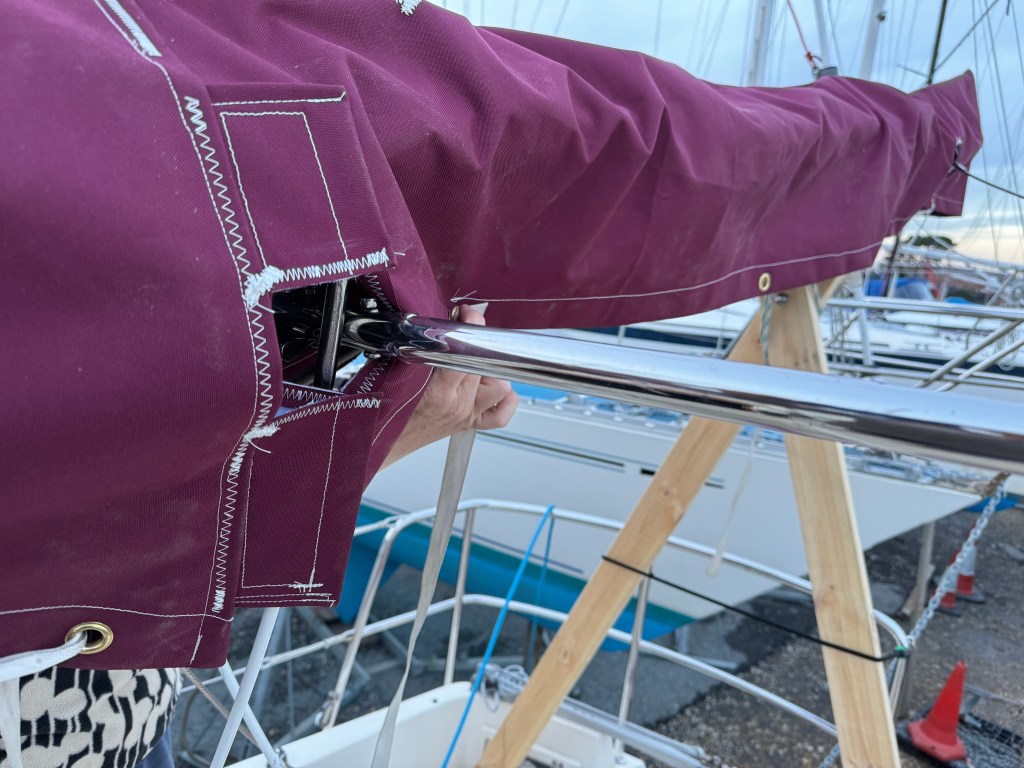
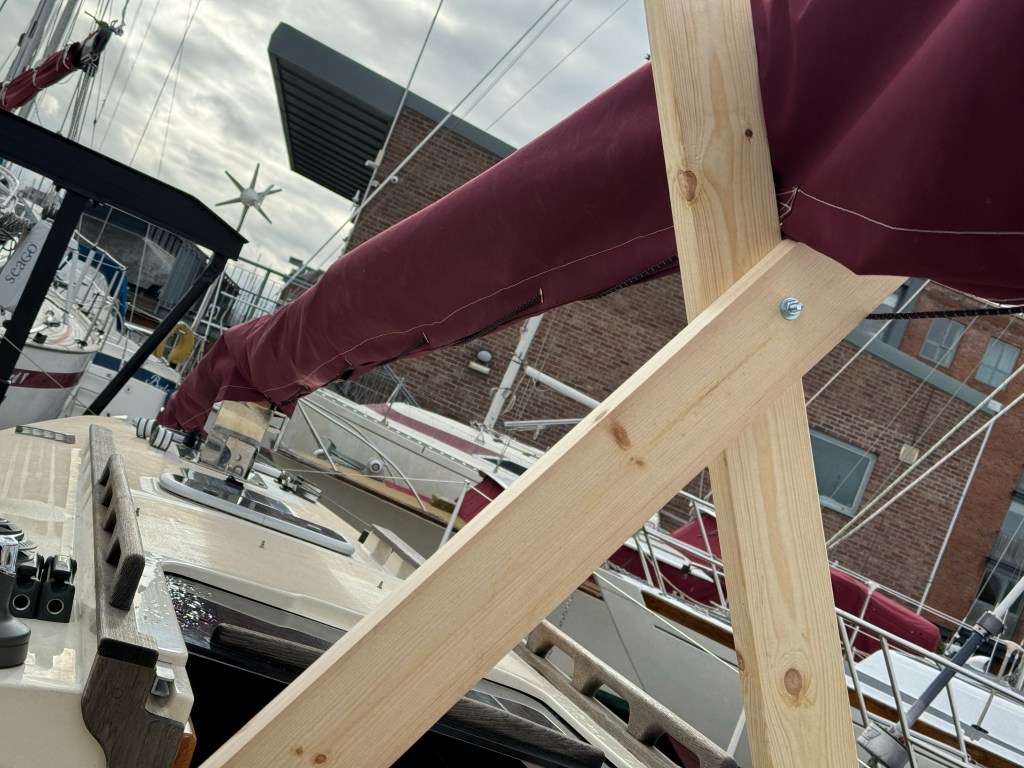
When Molly came ashore for the winter, I wanted to protect the mast from the worst of the weather. Withe the mast lowered, I was able to make wooden cruitches to support the top end, either side of the spreaders; the lower end sat comfortably through the tabernacle. Meanwhile Niki made a waterproof fabric cover for the mast which will keep wind and rain off not just the varnish, but also accommodates the jib on its carbon fibre furler and also the running rigging.

The list of winter jobs is not too long, but one I have been avoiding is the holding tank pump. This has not worked since we bought the boat and, though I can hear the pump run, it has no effect. It’s been no hardship to not use the holding tank but I’m expecting to need it next season and, besides it bothers me that it doesn’t work.

So, I emptied the port locker and removed the partitions to the electrical equipment and then the leisure battery for access. After a modest amount of wrestling, the “poo pump” was removed and dismantled (the model is called “Gulper”; this seems a very inappropriate name, given what it ingests!

There was good news and bad news at this point. The good news was that the reason for its lack of function was pretty obvious – it has four “tricuspid” valves that ensure the flow is in one direction only, and one pair of them had been fitted the wrong way around. Either it had been assembled incorrectly at the factory or else when the pump was installed on Molly (evidently never been used). The bad news was that the valves in the service kit I’d bought were the wrong size.

After an extra trip to the chandlery, the pump wax reassembled and tested by part-filling the holding tank with water and pumping out. Success! I celebrated by cleaning the prop. I tried vinegar to remove the calcified deposits last year but that was not very successful. This year, I tried HG descaler which worked much better. This evidently had a component which reacted with the timescale and softened it, making it easy to remove. All the other limescale removers I looked at in the supermarket seemed be mostly detergent. It’s clear the prop anode had been doing its job and needs replacing after just one season.

Hibernation time

Having been afloat for eighteen months, it was time for Molly to be hauled out. To protect the mast from the elements and enable maintenance of the wood and rigging, I dropped the mast. This is quite a straightforward process and uses elements of the existing rigging.

Having removed the sails, boom and gaff, I attached the mainsheet between the end of the bowsprit and the jib halyard. I rigged the bowsprit just forward of vertical and led the tail of the main sheet back to a winch. This gives a lot of purchase, and little force is required to ease the mast to horizontal. I made a wooden A-frame to support the mast at the stern and the mast dropped easily onto this. The rigged mast is heavy though, and it took three of us to ease the mast forward, so that the foot is near the bow, which reduces the overhang at the stern.

The haul out at our club is a meticulously organised process and Molly was tucked in among the other boats – you can see from the photos why it is not possible to raise or lower the mast once she is parked!

Stepping the mast

Mollys mast in the workshop

The fully refurbished mast is ready for stepping! Sporting glossy new varnish, rot fixed and anchor light replaced, it looked absolutely lovely. I had decided that rather than having the mast delivered to the club, I would take Molly to the mast and have a winter weekend away. I had been watching the weather leading up to the proposed date and was delighted to be treated to calm and settled conditions, even sun!

So it was. I slipped the moorings in Gosport and motored out into the Solent, through the dolphin, past Langstone and made Chichester bar beacon in good time across a waveless sea and warm sun. The warmth turned out to be due to the lack of wind; I had been motoring downwind, so the apparent wind was almost nil – as soon as I turned up into Chichester, I noticed the bite even though the breeze was not strong.

Motoring out of Portsmouth. Andy “the arm” Autohelm was sporting a new rain cover freshly made by Niki. Not really needed on this occasion but very smart!

My destination was Emsworth marina, reached by a tidal channel and crossing a cill. Without the moorings to guide, the channel was harder to follow, but I soon slid into my assigned berth.

Doesn’t look like February

I then spent the rest of the afternoon dressing the mast ready for stepping the next day. This took quite some time – the “knitting” needed unravelling and laying out neatly and I wanted to make sure the job was done right, as it would be massively inconvenient to discover a mistake after the mast was raised.

The “knitting”

I completed the task in good time, before taking an early evening walk into the town of Emsworth – very picturesque but not much to see in the dark. I made a mental note to come back in the summer with Niki. Returning to Molly, I was heartily glad of the heating system as the clear day gave way to a cold night.

The following morning, I was greeted by the yard manager who was ready first thing to step the mast, so I chugged over to the crane quay and the mast was very efficiently stood in its proper position. I then had the rest of the day to rig the sails and spars, a task which I completed just after high tide in the early afternoon, with only a few mistakes and “replays”. The task always takes longer than expected!

Lowering the mast into position

Emsworth is a lovely place. It’s very peaceful and there is a lot of wildlife around. I especially love the coots with their comedy party hooter calls. However, there is an ever present rumble of traffic from the nearby main road, which the brain quickly tunes out but is always evident whenever I shot a film clip. The water is also very active and it feels like being moored in a river when the water pours in or out over the two cills.

On the falling tide, water rushing over the cill. It created quite a strong current on my berth.

I made my farewell to the boatyard, and as I motored out, Nick the shipwright noticed that I had left my GoPro bolted to a post on the pontoon and grabbing it, dashed onto the last boat and handed it to me as I passed by. Phew!

Nick ready to hand me my camera back, as I passed

I had Chichester harbour almost to myself, with one or two motor boats and a lone racing dinghy being all I encountered in what is usually a very busy stretch of water. I made for my favoured anchorage at Pilsey Island near Itchenor.

Sunset reflected on the mud

Once securely anchored, I completed the final rigging task, that of bending on the main sail. I had envisioned sitting head to wind at anchor and therefore attaching the main sail would be a breeze. However, I had not taken the tide into account and Molly Sat broadside on to the wind, which made my task much more interesting! Nevertheless, I completed just as the sun made a spectacular sunset. This is always a marvellous place to spend the evening, but was particularly magical tonight as the wind stilled and the sky was filled with pastel colours with the sounds of the wading birds drifting across the waters. I retired to bed after a welcome hot chilli I had brought with, happy that Molly was complete again and ready for the new season.

Mast repair

Molly’s mast lowered and ready for maintenance
The foot of Molly’s mast when we inspected it in August. In fact the rot extended inside almost up to the tabernacle bolt hole!

When we bought Molly last year, we could see that the mast needed some maintenance, but were not able to drop the mast whilst we were ashore in the yard. During the summer, we removed the mast to reapply the Sikkens coating. To our dismay, we discovered rot at the foot of the mast! This winter, work is finally going ahead to refurbish the mast: remove rotten wood, scarphing new timber and adding a hard wood cap to the foot of the mast which will protect the end grain of the spruce. Whilst we’re at it, we’ll change to coating to a more traditional varnish, which will allow us to better see any signs of water damage to the wood and, I feel, give better protection to the wood, albeit at the cost of annual or biannual sanding and topping up the varnish. Here’s a video of our trip to see the shipwright Nick Gates, who has been assessing the work, before completing the refurbishment of our mast.

Leathering the gaff saddle

On traditional gaffers, the gaff jaws are often covered in leather to help them slide along the mast and prevent wear on the mast. Whilst the Crabber 26 is not a traditional gaffer, I do like the “leather look” and it’s not that hard to do.

When we bought Molly, I noticed there was quite a bit of wear on the mast where the gaff saddle sits, especially in the position when the sail is furled. Some wear is inevitable on a gaffer, but it seemed excessive. Inspecting the gaff saddle, which is a pretty substantial piece of stainless on a Crabber 26, I could see that it was lined with a piece of plastic resembling a vinyl floor tile. Over time, this had cracked and split at the edges and appeared to be the cause of the wear. One thing I’ve long made a habit of doing when moored is to use an extra line to secure the boom towards the stern quarter and stop it moving. I’m sure over time, the constant shifting of the boom considerably adds to wear where the gaff saddle sits against the mast.

I have some experience of leathering gaff jaws on my previous boat, but the design of the gaff jaws is quite different on the Crabber 26 to my previous boat, a Cape Cutter 19. I took advice from those in the know, and Sue Pennison in the Solent OGA was very helpful. She suggested a “sandwich” arrangement using a saddle stitch. I bought my materials from Classic Marine in Suffolk, costing about £40 for the whole job. They supply pieces of the correct type leather; you simply specify the size you need and they charge you by the square foot (!). They also see tough rot-proof twine and sail-makers needles. Before starting, I took a diploma at the University of YouTube on how to do the saddle stitch (easy!). The photos below show the main stages in the process.

The condition of the gaff saddle when I started; you can see the damage to the original lining which I think was the cause of my mast wear.
I used a paint stripper to warm the plastic and soften the adhesive – this made removing the material much easier, but I was careful to minimise heating of the metal.
The leather was supplied in large rough cut pieces. After very careful measurements, I cut a piece which was the correct height (allowing for a 5mm seam top and bottom) but over-long, because I was not sure how much length I needed as the leather was stitched around the curve.
The trickiest part was making cut-outs for the various fittings on the back of the saddle. Despite my careful measurements, I did make one mistake (one of the large slots was too big). Measure twice (or more!), cut once… Fortunately this error does not show when the saddle is fitted. You can see I drew an outline of the metal and then added the seam allowance.
Trial fitting of the outer section.
The inner piece was very easy to cut. I measured along the leather with my trusty Portland dividers, and marked with a sharpie where the holes should be, so the stitching would look even. Before fitting, I wetted the leather, to make it more supple. I held the sandwich in place with small clamps and then drilled holes. I made the holes in small batches, so that the position would be right, as the leather conformed to the curve of the saddle. Saddle stitch is a very easy stitch, using two needles cross-crossing each other. Very satisfying work!
Top and bottom now stitched. The leather is ready for trimming to size at the ends.
The ends now trimmed to size. I let the leather dry and then cut with a good pair of scissors. Note the holes drilled in measured positions, ready for stitching.
The finished work! Overall I’m really happy with the result – looks great and, a few months later, much less wear on my mast.

Installing NASA BM-1 bluetooth battery monitor

Molly ashore in Falmouth last winter

When we took on Molly at the beginning of the season, I spent some time doing a bit of winter maintenance and getting to know the systems aboard. I decided that I would not change or add anything during the first season, but would sail her and thoroughly understand how things worked before changing anything. There was one exception to this, and that was a battery monitor – I was uncomfortable not having any means of monitoring the voltage and charging of the leisure and starter batteries, particularly as the previous owner told me that the first time he came to use her, the batteries were flat and needed replacing. Rather than fit another display in the cockpit or cabin, I chose a bluetooth unit, which has been excellent. It tells me the voltages and dis/charge rates at a glance and the bluetooth range is enough for me to read when I am in the car park and Molly is on her berth!

If you’re interested in the details, have a look at this video I made of the installation: https://youtu.be/GZ07bel7T6A